

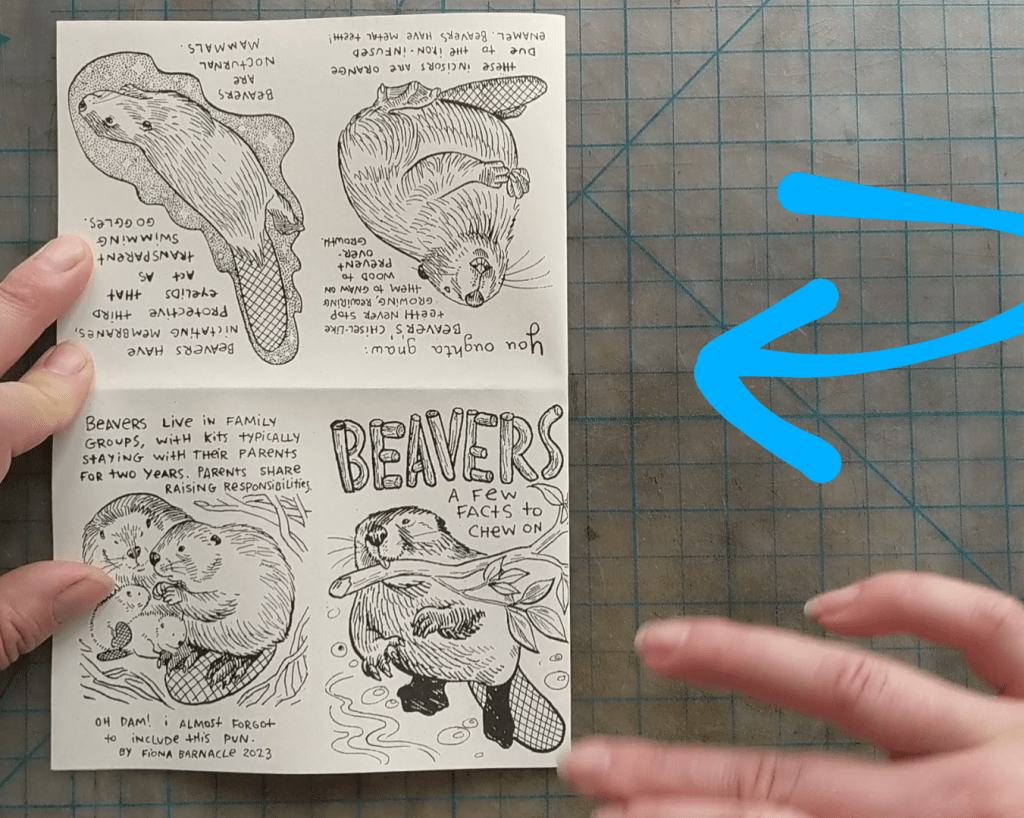
8 page mini-zines are small DIY booklets printed one-sided, on a single sheet of standard paper. Make some yourself, by downloading free printable mini-zines in my shop! Once you’ve printed those, you can try these steps.
Although anyone can find many templates and instructions online (even mini-zines about how to make mini-zines), I have a few additional tips. The way I fold doesn’t bend the paper more than necessary (i.e. creasing the paper back and forth).

Step 1 – Cut the margins.
I create my zine with wide margins so the printer/photocopier doesn’t cut off any of my lettering or artwork. I choose this from experience. It’s also an aesthetic choice.
I use a paper cutter for this.

Step 2 – Fold in half.
I’ve seen this folding longways called “hotdog”, and now you have too.
Step 3 – Fold in half, again.
I’ve seen this fold called “hamburger”… pretty bad, but we will use it for clarity’s sake.
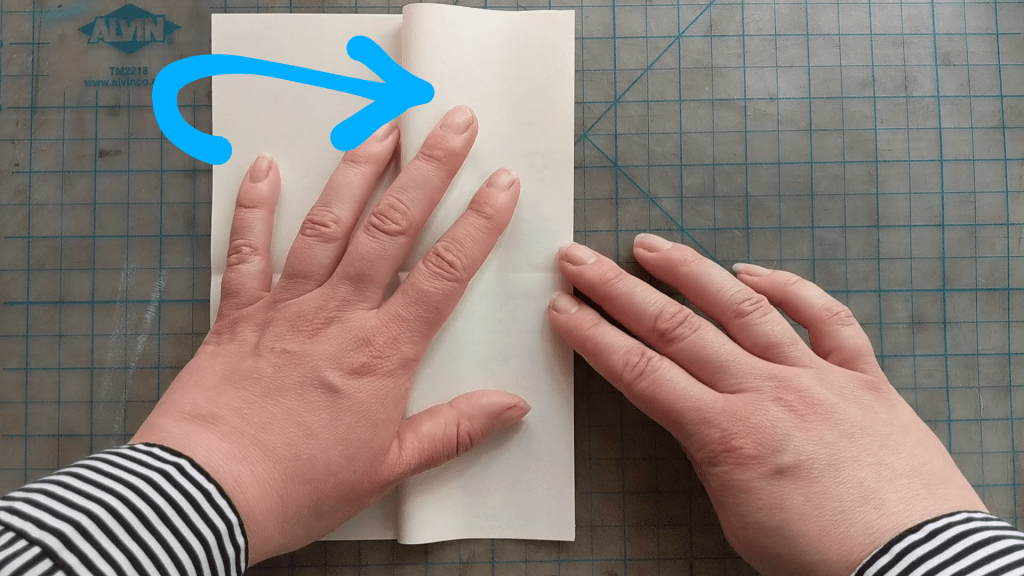
Step 4 – Fold the paper edge to the “hamburger” crease.

Step 5 – Repeat step 4 -Fold the other paper edge to the “hamburger” crease.
Sorry I keep calling it hamburger crease.

Step 6 – Cut to the center from the folded half page, along the crease.
This cut stops at the creases from steps 4 and 5. That crease we’re cutting along is also called the “hotdog” crease…
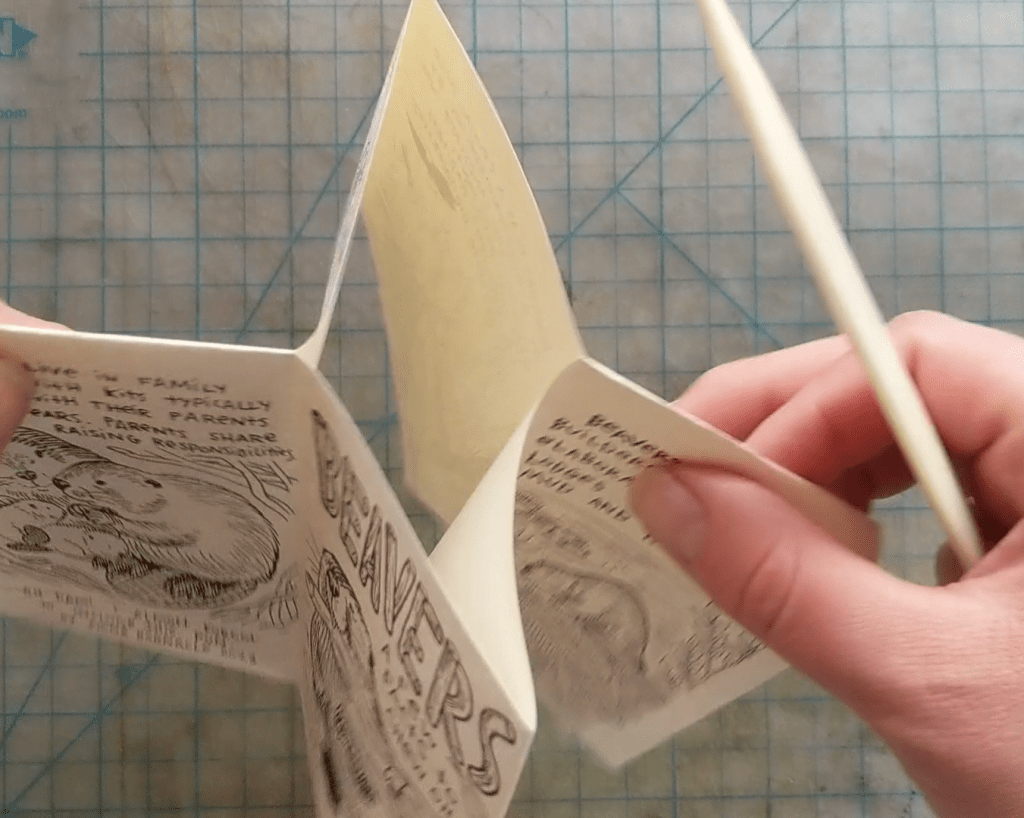
Step 7 – Pop it open!
This is when the magic happens, and when we stop saying hotdog and hamburger crease.

Step 8 – Fold in half again, creating the cover and back-cover.

Step 9 – Pro-tip! Wiggle the edges into place.
I like to keep the edges neat and tidy.
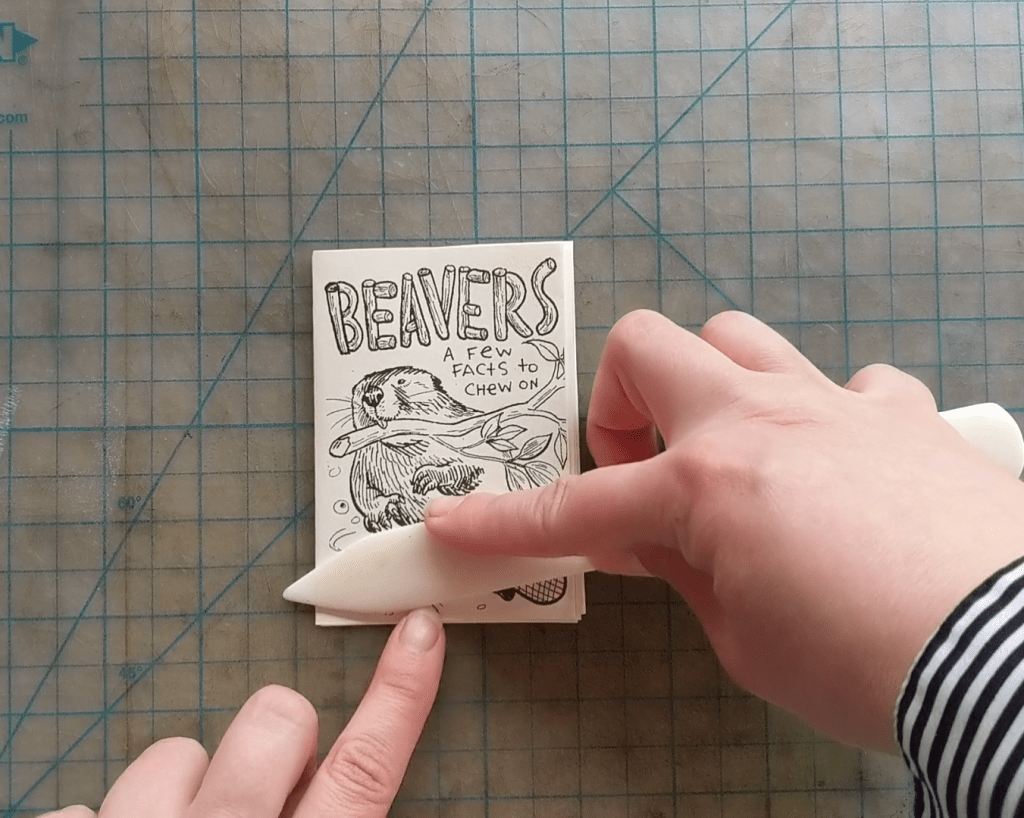
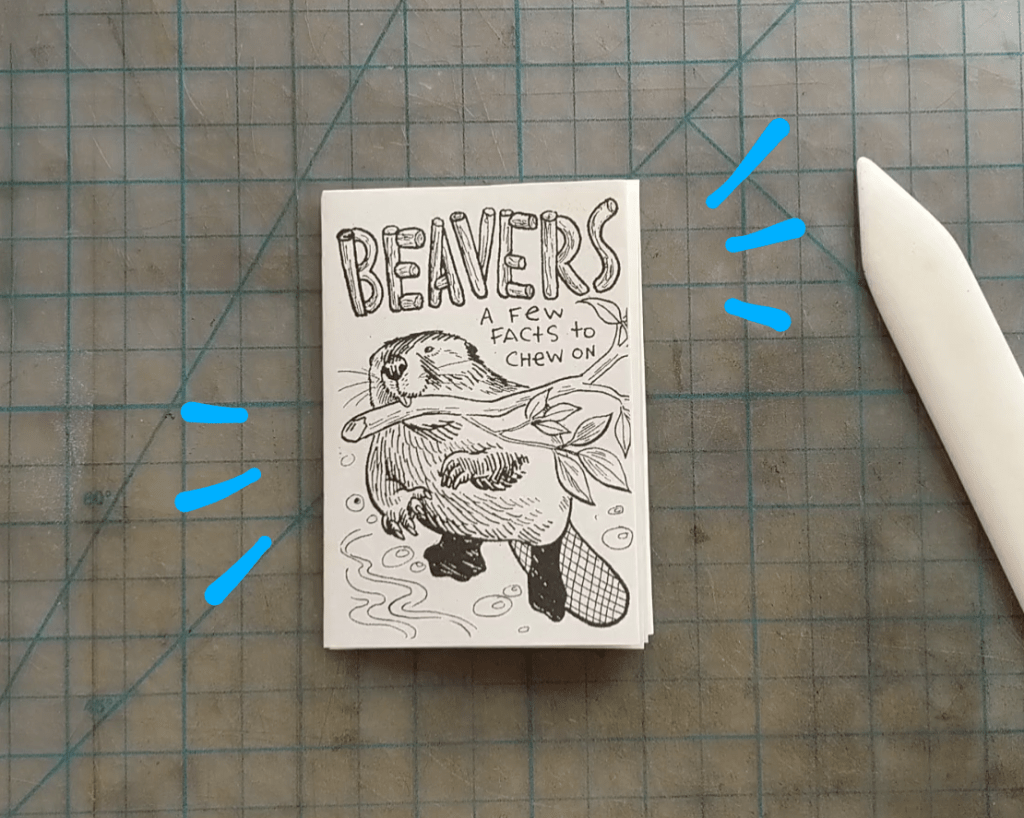
Step 10 – Really press the folds of the mini-zine.
Bone folders are great for paper-folding crafts. This step is to make the zine edges look really clean.
Ta-da!
When you become a real mini-zine folding pro, you can try doing 2 or 3 at a time.
Thanks for reading! Don’t forget to check out my free printable mini-zines in my shop. Or make some yourself!
